Notes
This section provides an overview of the Notes feature, which allows attaching custom text records to specific items. The Notes widget is currently available for Deployments and Compute Nodes.
Notes Widget Overview
The Notes widget is a table-based interface designed for quick viewing and management of records.
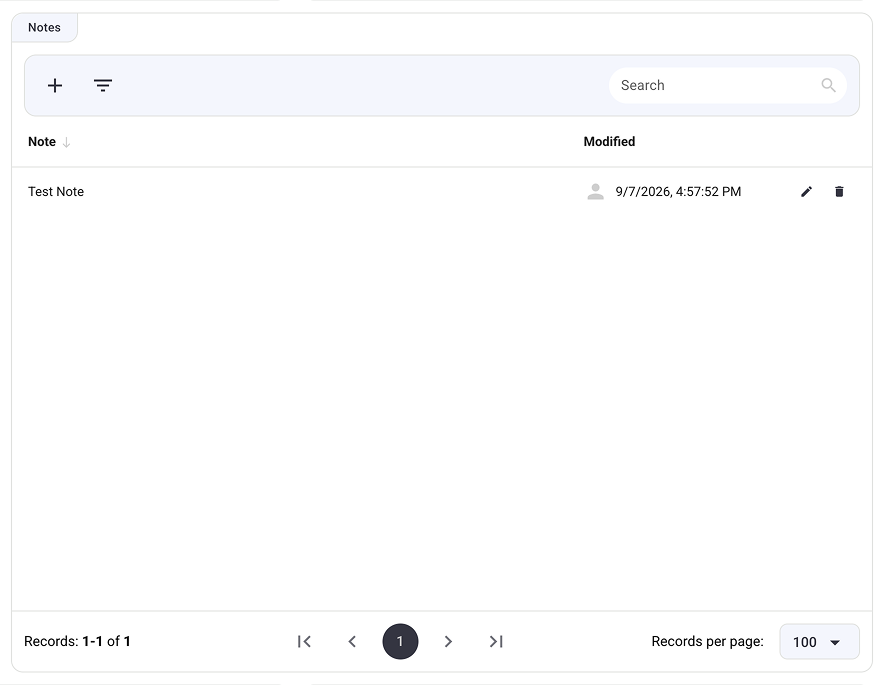
The widget consists of the following main areas:
- Top Action Bar: Located at the top left, containing the Add (
+) button and the Filter button. A Search input field is located on the top right, which filters based on the notes column. - Table Headers: Click on any column header to sort the table rows.
-
Data Columns:
- Note: Displays the text content of the note.
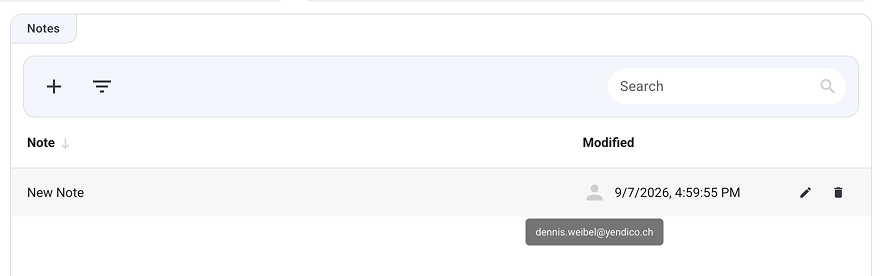
- Modified: Displays the date and time of the last modification, along with a user icon. Hovering over the user icon reveals the email address of the person who last edited the row.
-
Row Actions: Quick actions to Edit (pencil icon) or Delete (trash bin icon) a specific note may be found on the far right of each row.
Managing Notes
Permissions and Constraints
- Character Limit: Notes cannot be empty and have a maximum limit of 1000 characters.
- Editing: Users can only edit their own notes. Notes cannot be edited by other users.
- Deleting: Only the owner of the item (the Deployment or Compute Node) can delete notes attached to it.
Adding Notes
Click the Add (+) button in the top action bar to create a new note. Enter text into the input field and click Save to save the new note.
Editing Notes
Click the Edit (pencil) icon on a row to change a note.
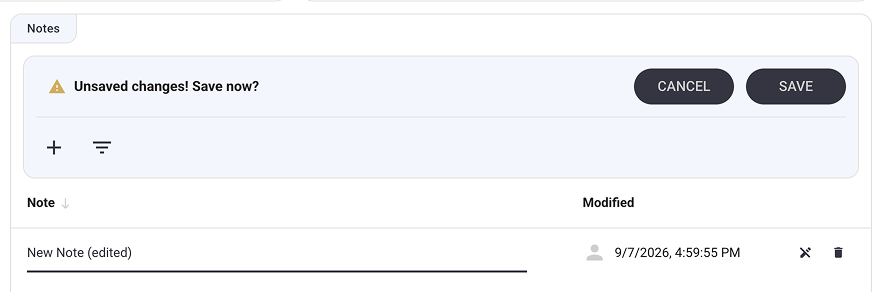
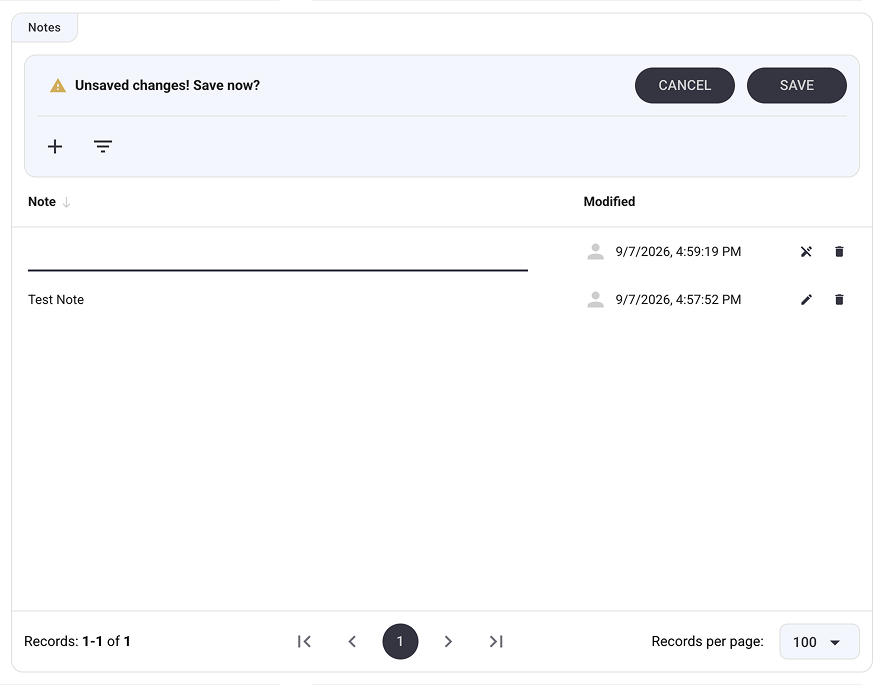
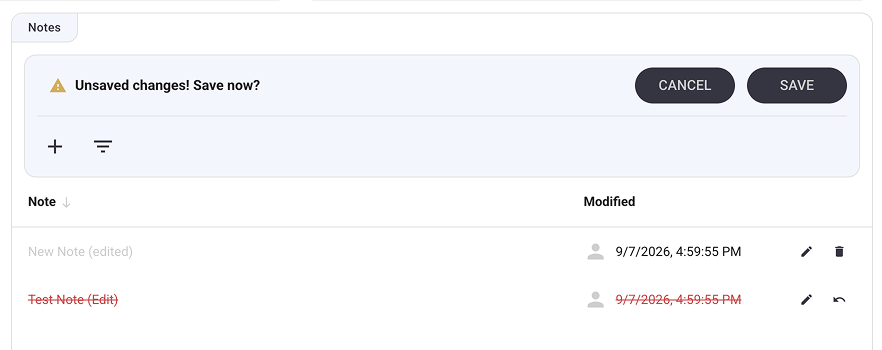
While in edit mode, the standard pencil icon changes to a strikethrough pencil icon. Click this strikethrough icon to exit edit mode for that row. After modifiying the text, the note will be displayed in a different color to indicate a pending change.
Deleting Notes
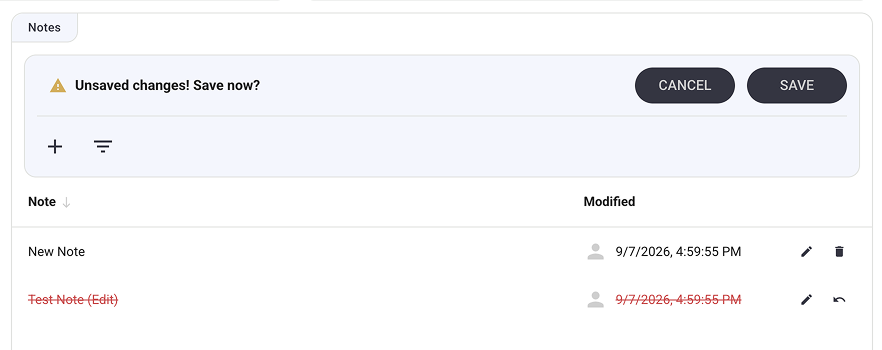
Click the Delete (trash bin) icon on a row to mark it for deletion. The row text will appear with a red strikethrough. The trash bin icon will change into a Reset (undo) icon. If you made a mistake, click the Reset icon to prevent the row from being deleted.
Saving Changes
The Notes widget uses a batch-save system. Modifying a note or marking a row for deletion does not immediately apply the changes to the backend.
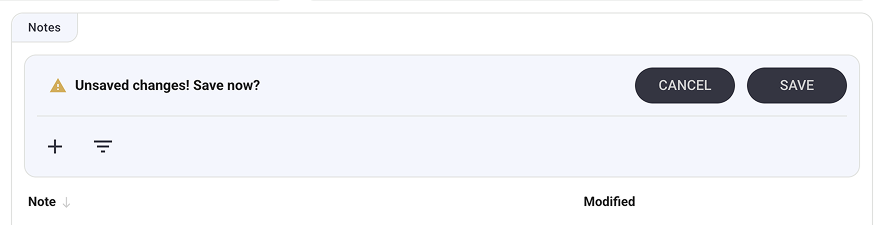
Whenever a change is detected, an "Unsaved changes! Save now?" prompt will appear at the top of the widget.
- Visual Cues: Rows marked for deletion (red strikethrough) and edited rows (highlighted text) are temporary visual states. These cues show exactly what will be modified after saving.
- Saving: Click the SAVE button in the top prompt to commit all pending additions, edits, and deletions simultaneously.
- Quick Save: While typing in edit mode a click on SAVE will automatically close the input field and save changes without needing to exit edit mode first.
- Canceling: Click the CANCEL button to discard all pending changes and revert the table to its initial state.
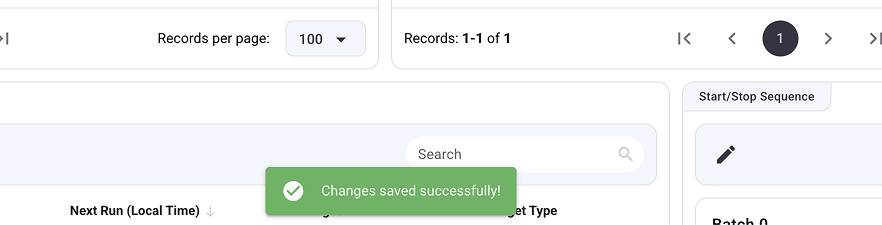
Upon successfully saving, a green notification reading "Changes saved successfully!" will briefly appear at the bottom of the screen.
Filtering and Searching
To quickly find specific records, use the search and filter tools located in the top action bar.
- Search: The search input field automatically scans the "Note" column for matching text.
- Filtering: Click the Filter icon to open the advanced filters popup menu.
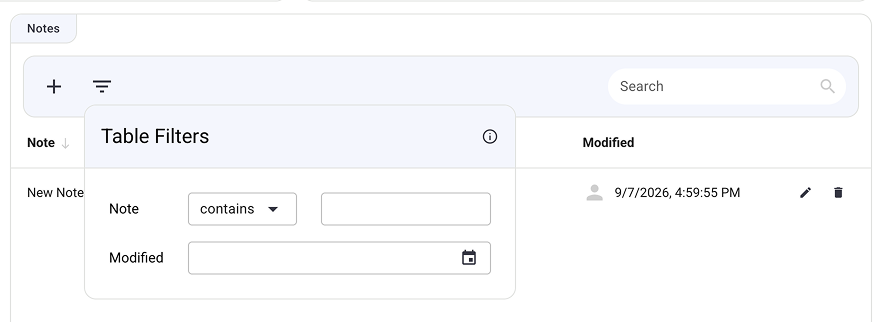
The filter menu provides two primary criteria:
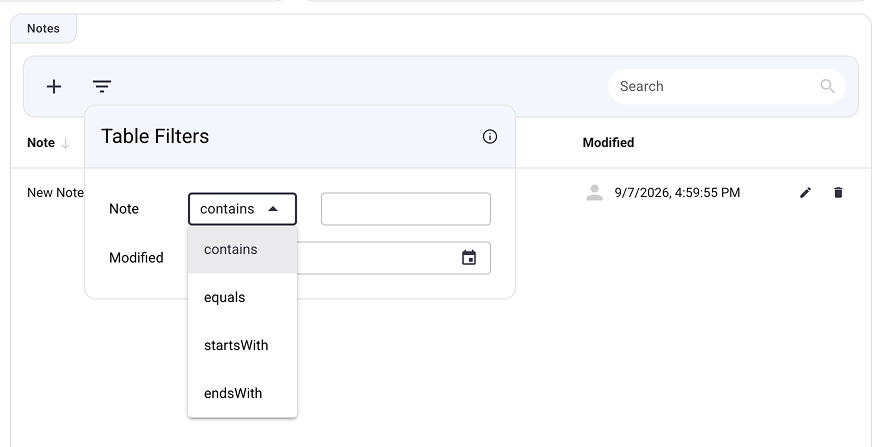
- Note: Filter by the text content. Adjust the matching logic using the dropdown to select modes such as
contains,equals,startsWith, orendsWith. - Modified: Select a specific date range to find notes last edited within that timeframe.
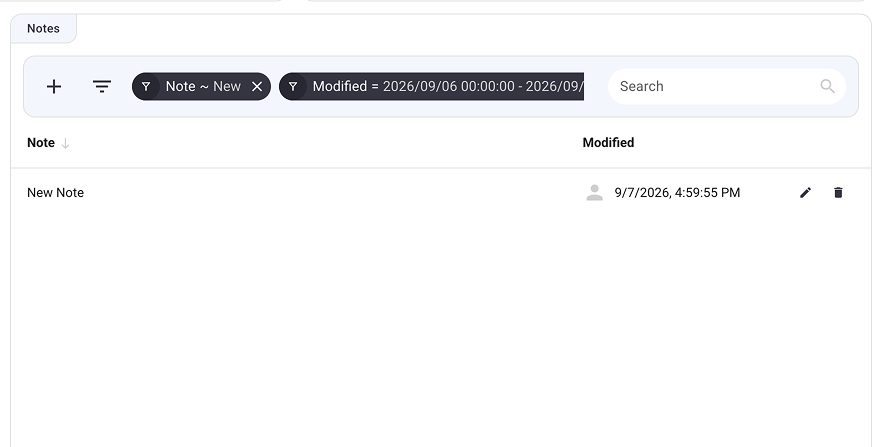
Active filters are displayed as tags next to the filter button. Click the X on any individual tag to remove a specific filter.